Anyone who’s ever been camping knows that one of the most important and fun parts of camping is a campfire.
Without a good sustainable fire, you won’t get hot meals and hot meals are very important on a cold camping trip!
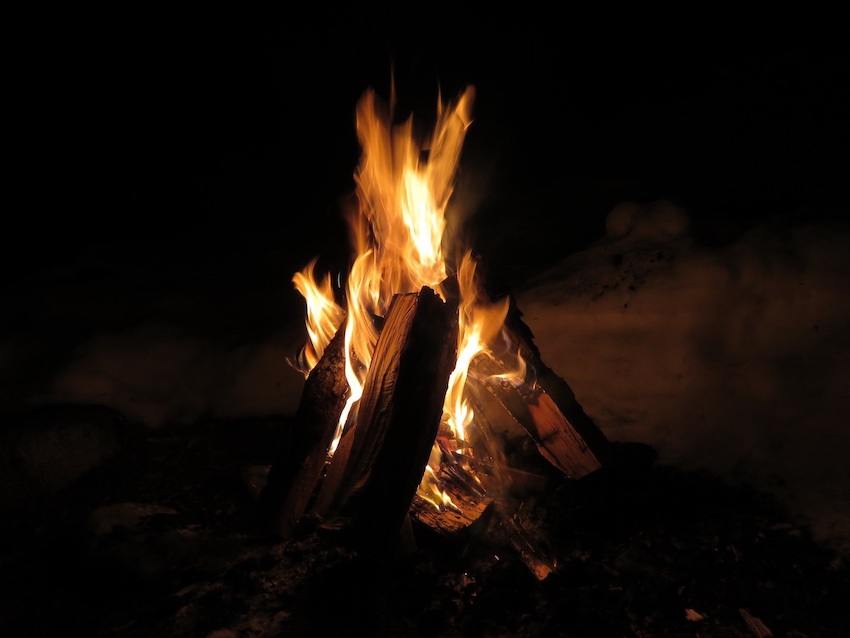
So today I’m going to be discussing campfire woods and the types of wood needed to start and sustain a campfire that can heat everything you need from water for a cup of tea to a whole meal.
What To Do First
The first thing that you should do is find a good location for your campfire. You don’t want to be setting the whole campsite ablaze!
Find or make a clearing for the fire pit – bare earth is the most ideal and safest place for this.
Campsites will normally have designated areas for campfires, so you should follow the guidelines of the campsite – and if you’re camping elsewhere then make sure your fire is away from anything that could catch fire, such as tents or woodland debris.
Dig a moderately sized dip into the ground to build your fire in, this is your fire pit – you could also place medium-sized stones around the area where the fire will be – this will allow you to designate and set the boundary of the fire.
Have buckets of water ready, so that the fire can be put out quickly if necessary.
Types Of Wood
There are 3 main types of materials that you will need to start and sustain a good campfire:
- Tinder
- Kindling
- Firewood (also known as fuel wood)
Tinder
Tinder is used to start the fire and consists of materials that catch fire easily, such as dry leaves, dry bark, wood shavings, and dry grass.
Tinder burns very quickly – so, if you haven’t got the next stage of your fuel ready then your fire will be gone before you know it.
A good idea is to bring your own tinder with you, just in case the weather is wet as wet tinder won’t light. Cotton wool is a great fire starter, especially when smeared in vaseline.
Kindling
As I mentioned before, tinder burns quickly so you will need to have the next stage of your fuel ready which is kindling.
Kindling consists of small dry twigs and branches, no more than the width of a pencil.
You shouldn’t use big logs straight away as they won’t catch until the fire is more stable.
You should be able to snap the kindling in two easily, if you can’t then they’re probably not dry enough and won’t be good to use to keep the fire going.
Firewood
This is the wood that will sustain your fire and keep it hot and burning.
It’s best to start with medium-sized logs, about the length and width of your forearm and have plenty of them, fires are hungry beasts and they get through a lot of fuel in a relatively short space of time!
Tips
As mentioned above the wood that you use should be dry, if it can be snapped and breaks easily then it is dry enough.
Tinder and kindling must be completely dry, firewood can be a little wet as the fire will dry it but it still best to have dry fuel wood, at least for the initial stages.
You will need plenty of the 3 types of fuel – as I said before, fires are hungry beasts.
Setting Up – Laying The Fire
There are several ways to lay your fire – below are some of the most common types.
Teepee Fire Lay
Place your tinder in the middle of your fire pit – start off with a fist full size.
Form a teepee above the tinder using the kindling that you’ve gathered – start with the smaller twigs and work up to the pencil sized ones.
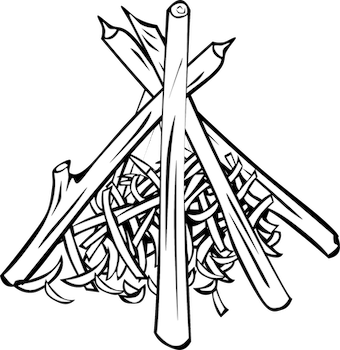
Leave a gap on the side that the wind is blowing against – this will allow air to flow in and help with the fire spreading.
Light the fire and once it takes hold (you may have to add more kindling for this to happen), start to add the fuel wood – also in a teepee structure, but be careful not to smother the small fire and deprive it of air.
Continue to add your firewood – once the fire has become established, you can add larger logs.
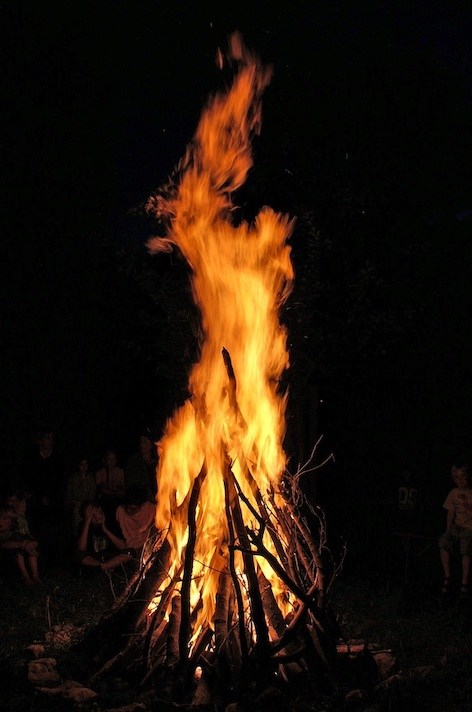
The teepee fire lay produces a tall flame and gives out heat in all directions – it is ideal for sitting around in the evening with a warm drink and toasting marshmallows while discussing the day’s events or sharing those scary camp stories.
However, this type of lay burns quickly, so you’ll need plenty of fuel nearby.
It’s not ideal for cooking – you’ll probably end up with burnt or undercooked food.
Lean-to Fire Lay
Lean a long piece of kindling against a large rock or log, alternatively you could stick the piece of kindling into the ground at an angle or lean it against the edge of your fire pit.
The end of the stick should be pointing into the wind.
Place your tinder underneath the kindling stick and then add small pieces of kindling around the tinder to create a tent like structure.
Then add another layer using larger pieces of kindling and light the tinder.
Start to add your firewood and keep adding to maintain the fire.
Log Cabin Fire Lay
Start by creating a small teepee lay as explained above.
Collect two large pieces of firewood and two smaller ones and place them in a square around the teepee.
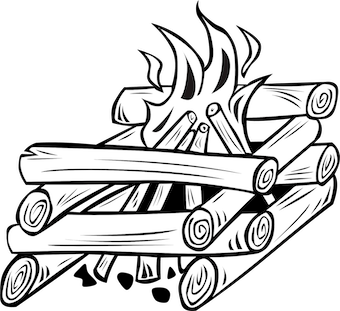
The larger ones should be opposite each other, as should the smaller ones.
The smaller ones should rest over the larger pieces.
Over the four pieces of wood, add smaller pieces of firewood in the same pattern to create a cabin like structure around the teepee.
Light the tinder and continue to add kindling until the firewood starts to burn and the fire takes hold.
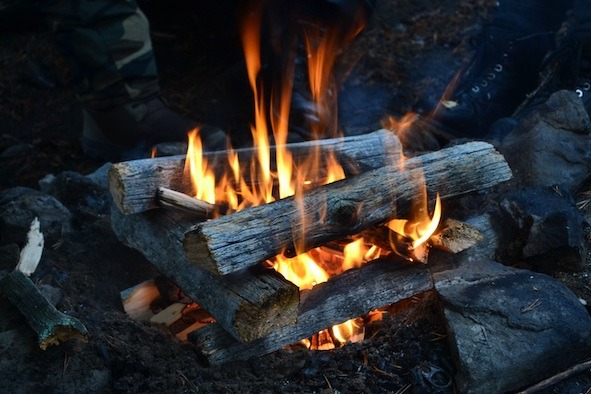
This style of fire lay is best for cooking.
The fire’s shape provides a flat platform to cook things over.
Eventually the logs will collapse in on themselves – but this is not a problem, as it’s the hot embers and coals that this type of fire makes that are then used for cooking with.
These hot embers (when the wood has turned white-hot) cook food much better than the original fire, as they give out a steady even heat.
Putting Out The Fire
It’s very important that the fire is put out properly before going to bed or leaving it abandoned.
You should stop adding wood to the fire about 30-40 minutes before you want to leave it unattended.
Ideally there should be just embers left and no actual wood.
Slowly pour water over the fire, stirring with a stick as you go along.
You will hear a hissing sound, which is caused by the water coming into contact with the hot embers. Continue to add water until the hissing stops.
You will want to make sure that there are no hot ashes left at the edges of the fire pit or under rocks that you may have placed around the fire – so pour water over all these areas too.
But be careful not to flood the fire pit as someone else may want to use the area for a campfire after you.
Finally, thoroughly stir the ashes to make sure there are no hot embers left and place the back of your hand near to the ashes to make sure they are cold.
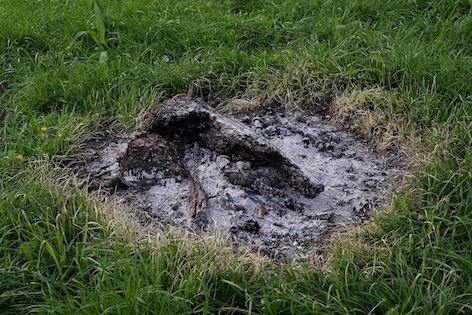
Your campfire is now extinguished and you can safely leave it unattended.
Conclusion
There’s something inherently primordial about campfires – they create mental images of mankind striving and surviving in the great outdoors before the dawn of technology.
If done right they are great fun and quite safe.
I hope you’ve found this article useful.
If you have any questions or comments, please leave them below and I’ll try to respond to them as soon as possible.
Thanks!
Mohammad


Hi Mohammad
This is a very interesting and informative post. I know how to make wood fire, but had no idea that there were different types of fire. I also did not know that dry leaves, dry bark and wood shaving were called tinder. We call them chip chip or wood chip, and also use paper. The term kindling is new to me.
I have never been on a camping trip, but the information that you have provided will definitely help people who want to learn about camp fires and how to make one. The post is very clean, and the pictures are relevant to the information provided.
Excellent instructions on starting, maintaining and putting out the campfire. It is very important to make sure that the fire is completely extinguished before leaving the area. Very considerate of you to mention to be careful in not pouring excess water on the wood in case someone else wants to use it.
I found the article to be very useful. Thank you.
Hi Jackie
Thanks for your comment, glad you found it useful and informative.
Hey Mohammad, very interesting read. I absolutely love camping and you quite rightly said that the camp fire is definitely the best part of it all. I found the setting up section of your article particularly useful because I tend to throw wood together and just pray that it catches fire, but this info will make things so much easier than my previous approach.
Hi Hugh, glad you found the article useful – I used to do the same and just pray for the best, lol… But it definitely pays to do it the right way.
I’ve even started and maintained a good fire while it’s raining!