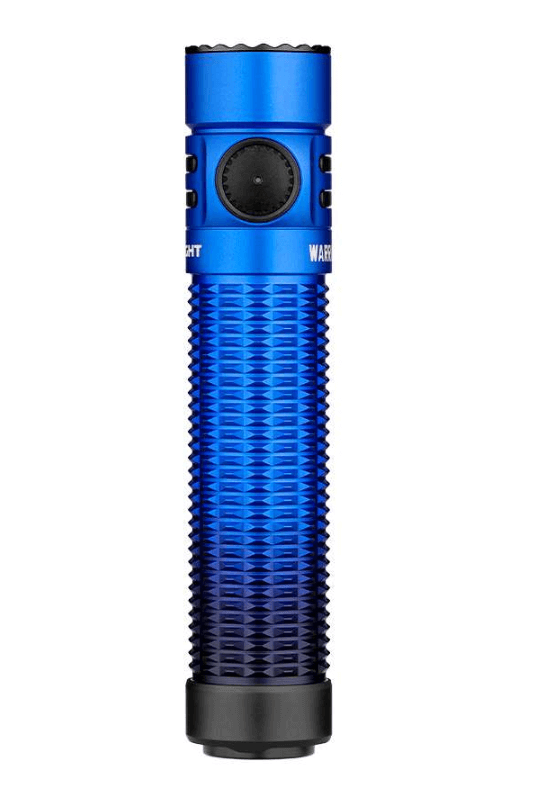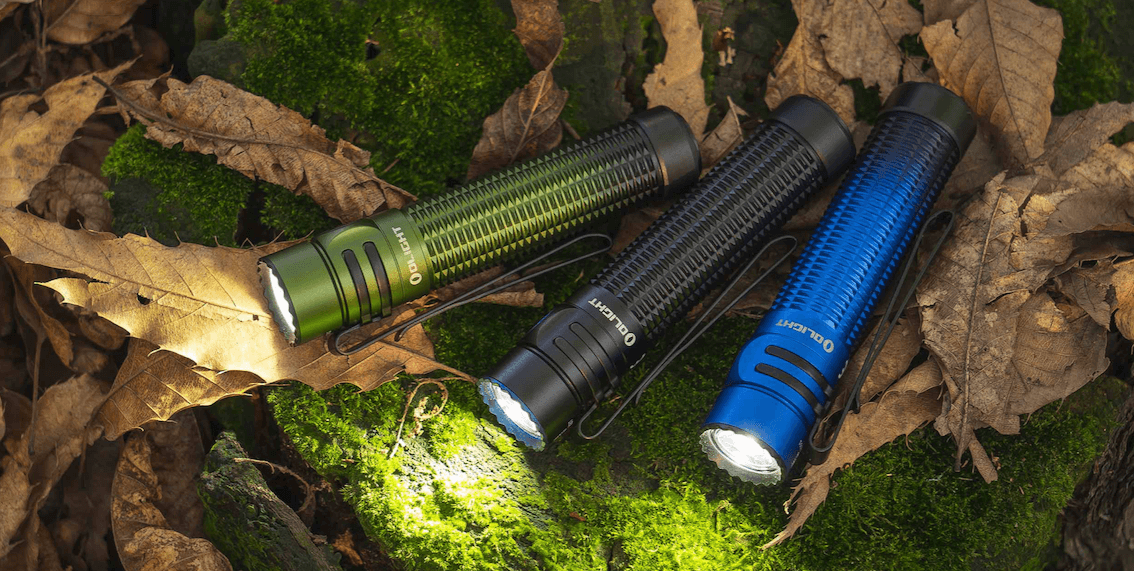
| Product | Olight Warrior Mini 3 |
| Available at | Olight UK |
| Design | Tactical Compact Torch |
| Max Output | 1750 lumens |
| Beam Distance | 240m |
| Weight | 122g |
| Dimensions | Length 111mm, Head Diameter 23mm, Body Diameter 23mm |
| Price | £89.99 |
| My Rating | 9.0/10 |
The Olight Warrior Mini 3 is an upgrade to the popular Warrior Mini 2… with lots of new features and improved throw.
Let’s see how it fares in our review.
Table of Contents
Overview
The Warrior Mini 3 comes with a high-performance LED and is powered by a customized 3500mAh 3.6V 18650 rechargeable lithium battery with a maximum output of 1750 lumens and maximum throw of 240m.
It weighs the same as the Warrior Mini 2, but is slightly shorter – 111mm compared to 118mm.
As with the majority of Olight torches – charging occurs directly through the tail cap using Olight’s signature magnetic charging cable.
Specification
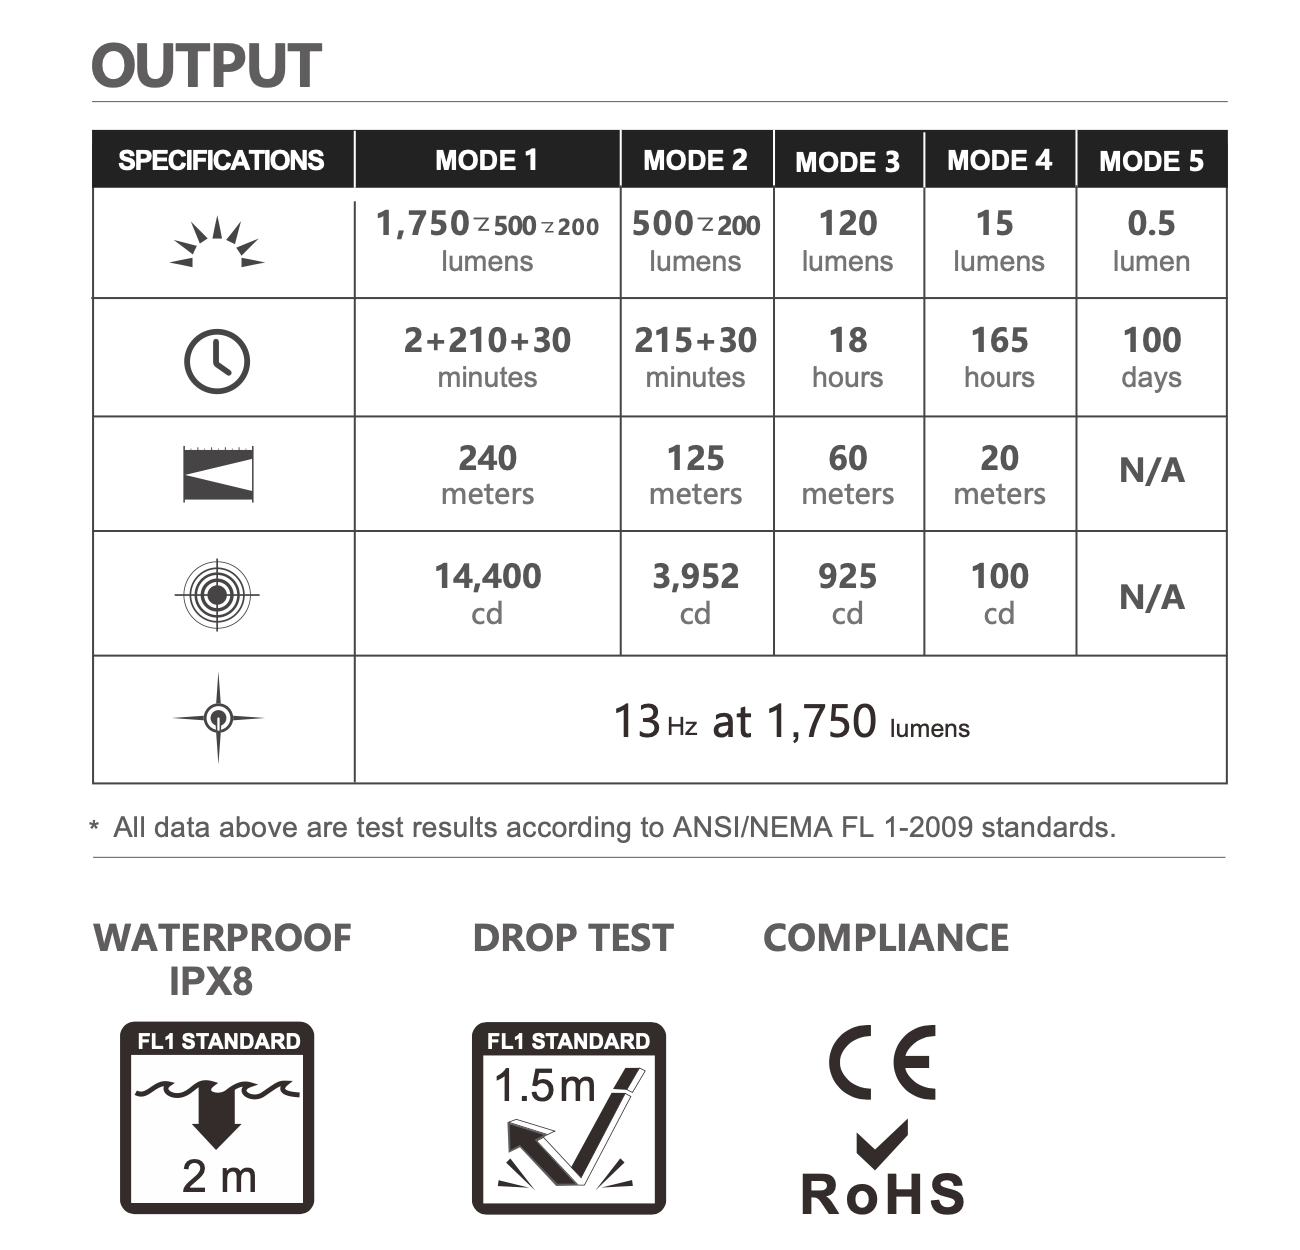
Level 1 will run at 1750 lumens for 2 minutes before dropping down to 500 lumens with an additional run time of 210 minutes – this is to prevent the LED from overheating, it will then drop down to 200 lumens, with a further run time of 30 minutes
Level 2 will run at 500 lumens for 215 minutes before dropping down to 200 lumens with an additional run time of 30 minutes.
Light Source
- High Performance LED(5700-6700k)
Dimensions
- Length: 4.37 in/111mm
- Head Diameter: 0.91 in/23mm
- Body Diameter: 0.91 in/23mm
- Weight (Body including battery): 4.30 oz / 122g
Body Material
- Alluminium Alloy
Power Source
- Customized 3500mAh 3.6V 18650 Rechargeable Lithium Battery (included)
Waterproof Rating
- IPX8 (suitable for continuous immersion in water down to a depth of 2m)
Drop Rating
- 1.5m
Warranty
- Olight’s 5 Year warranty
In The Box
- Warrior Mini 3
- MCC charging cable
- L-Stand
Key Features
Beam Quality
As with all the Olight torches that I have tested – the Warrior Mini 3 has an excellent, well-balanced uniform beam – providing good throw to see things in the distance and equally good flood for near objects.

Charging
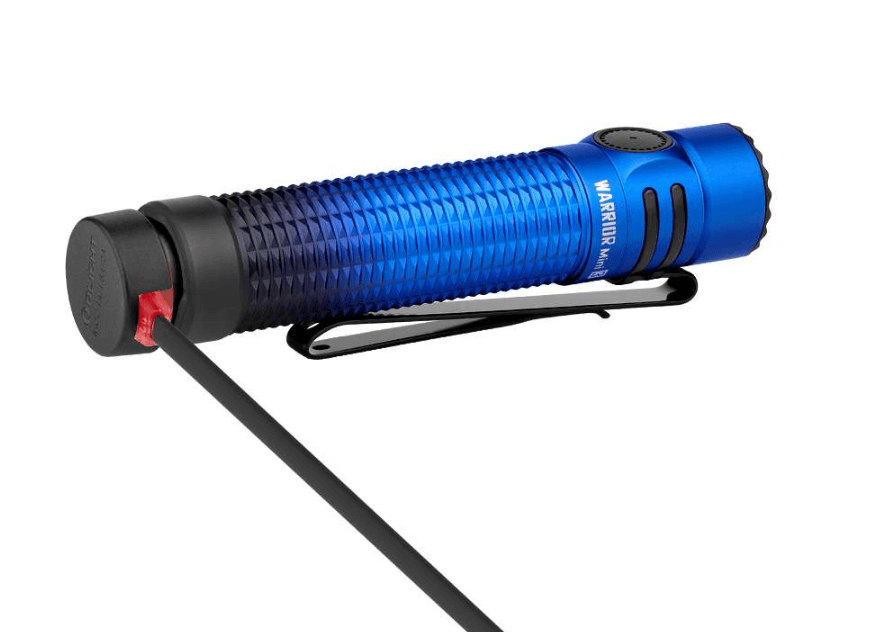
Charging occurs without having to remove the battery via the magnetic charging cable, which attaches directly to the tail of the torch.
The magnet at the tail of the torch is very strong and easily attracts the charging pad, such that it can be done single-handedly.
The magnetic pad on the cable has a charging light next to it that lights up red when charging and green once fully charged and it takes 3.5 hours to fully charge the battery from flat.
The Olight magnetic charging cable is used on the majority of Olight’s torches and is a very unique and easy way to charge the torch, it has a standard USB on the other end that can be used with any USB plug or portable battery.
Power Button & Modes
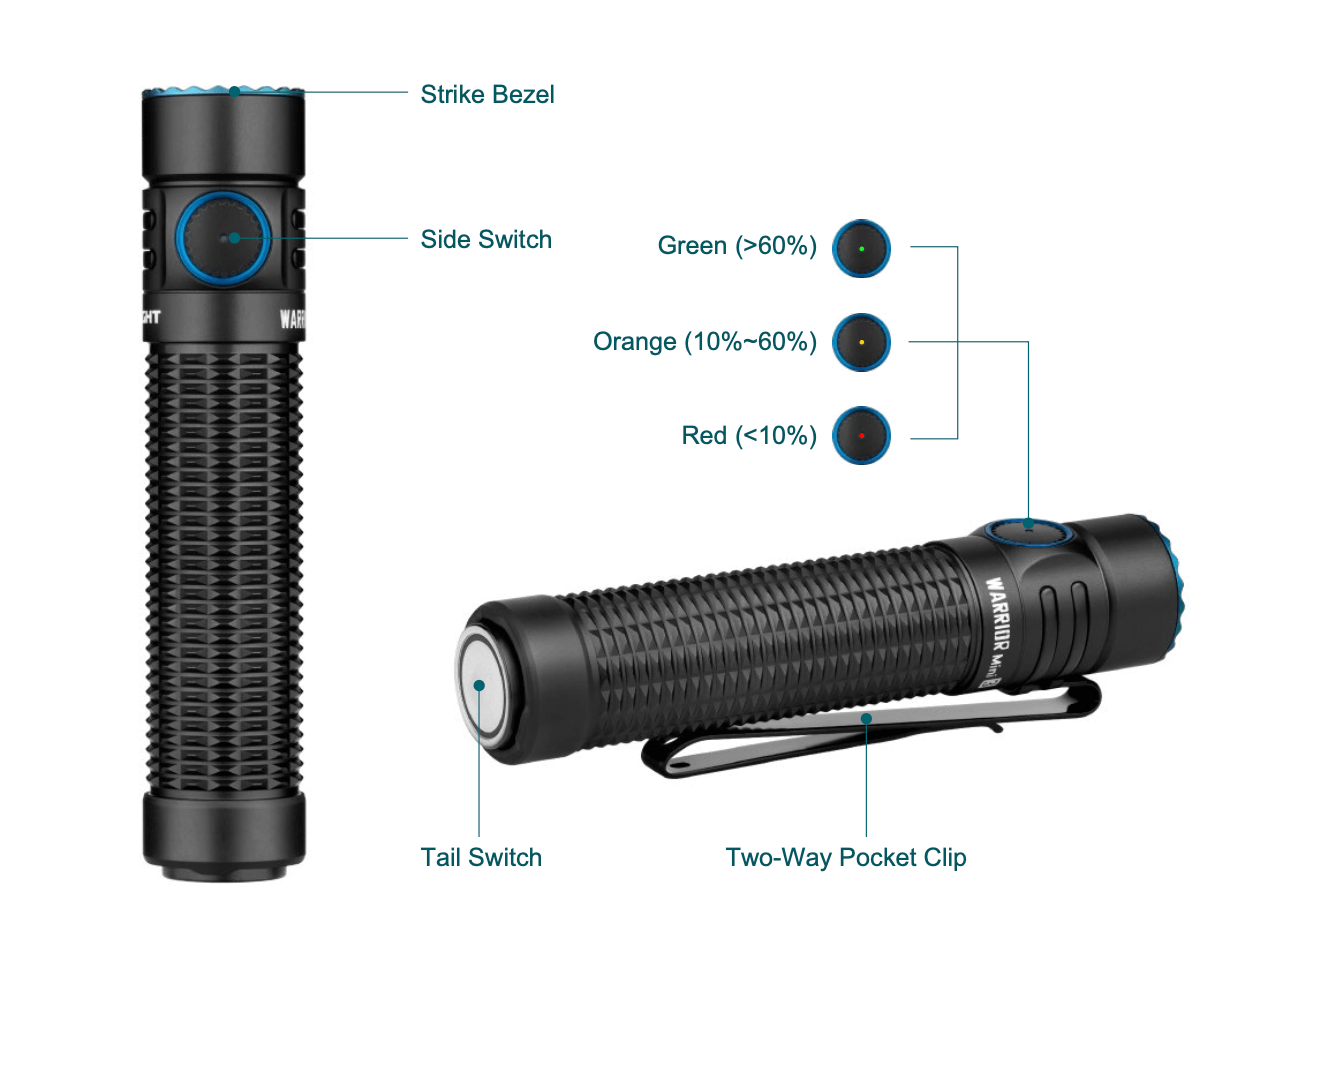
The Warrior Mini 3 features two power buttons
- The main one is located on the side of the torch and is slightly raised, making it easy to locate, even in low light.
- The side button has been upgraded… it is now bigger and tougher – the enlarged and wear-resistant metal side switch offers a more convenient operation and sense of touch.
- The second one is a tactical dual-stage tail switch, which has also been upgraded to feature Nano Molding Technology that makes metal dust cleaning on the tail switch a breeze.
Side Power Button
Pressing the side power button briefly switches the torch on, while pressing it briefly again switches it off.
To cycle through the modes – the torch should be switched on using the side button and then this button held down – this will cycle through levels 2-4 (500/200 – 120 – 15 lumens).
Level 5 (moonlight mode) is activated by depressing the power button for one second, while the torch is off.
The Turbo mode (level 1) is achieved by double tapping the power button.
Strobe mode is activated by triple tapping the power button.
The torch can also be locked by pressing the side power button, while the torch is off, for a few seconds – pressing it again for a few seconds unlocks it. This is a very useful feature and prevents accidental powering on – when the torch is locked, the power button battery level indicator will light up red when pressed.
Tactical Tail Switch
The tail switch is very useful as it can be quickly activated even when wearing thick gloves.
Partially pressing the tail switch button activates level 3 (120 lumens), deactivation is by partially pressing the button again. Fully pressing the button activates level 1 (1750 lumens), fully pressing the button again switches the torch off.
Low Battery Indicator
There is a battery level indicator located on the side power button, which lights up when the torch is powered on as follows:
- Green: >60% battery power
- Orange: 10-60% battery power
- Red: <10% battery power
Pre-activated Proximity Sensor
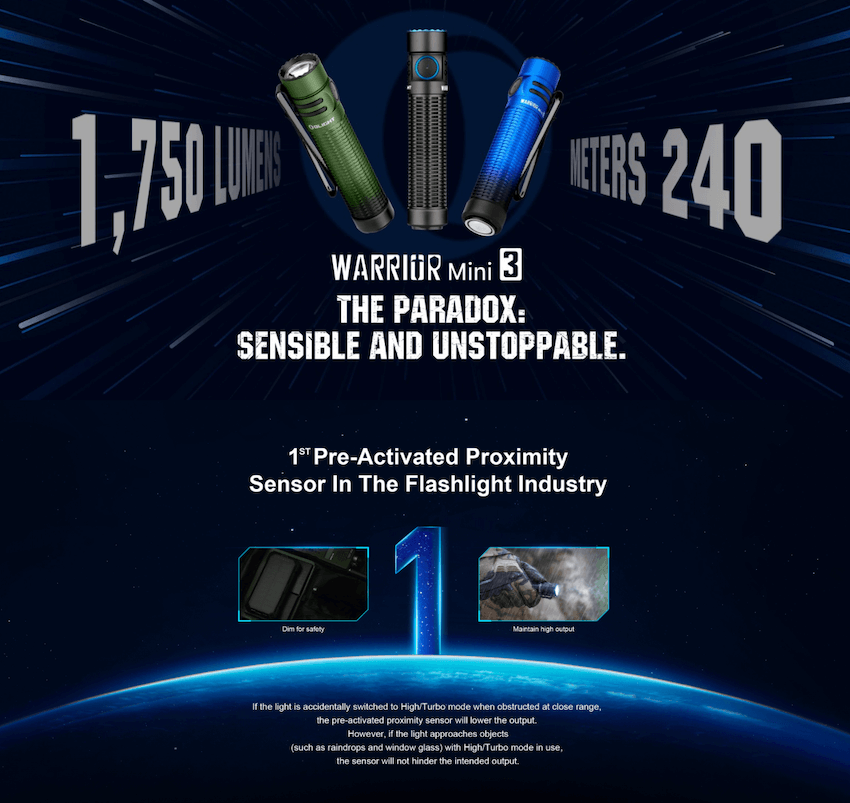
The Warrior Mini 3 features a Pre-activated Proximity Sensor
- If the light is accidentally switched to high mode when obstructed at close range, the pre-activated proximity sensor will lower the output, to reduce the risk of overheating and causing a fire.
- However, if the light approaches objects (such as raindrops and window glass) whilst high mode is in use, the sensor will not hinder the intended output.
Dual-Sided Clip
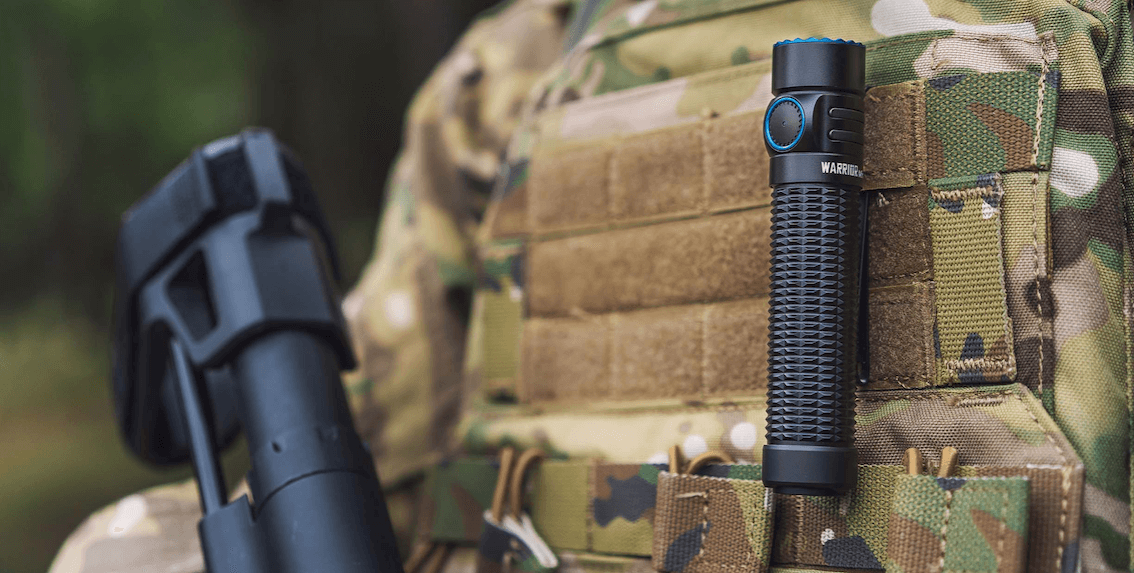
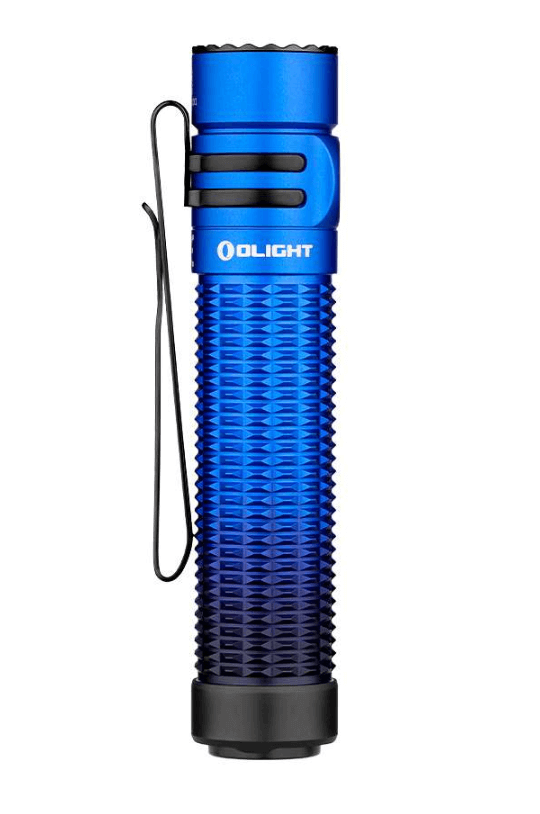
The Warrior Mini 3 also has a detachable dual-sided metal clip that can be used to attach the torch to items such as a utility belt or backpack.
Body
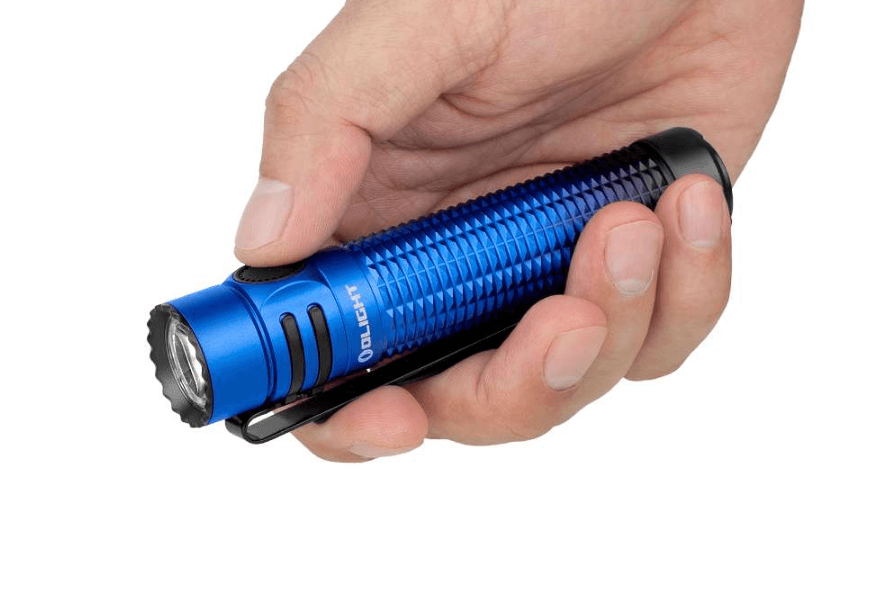
The Warrior Mini 3 has a knurling body pattern – this gives a very firm grip, even in the wet.
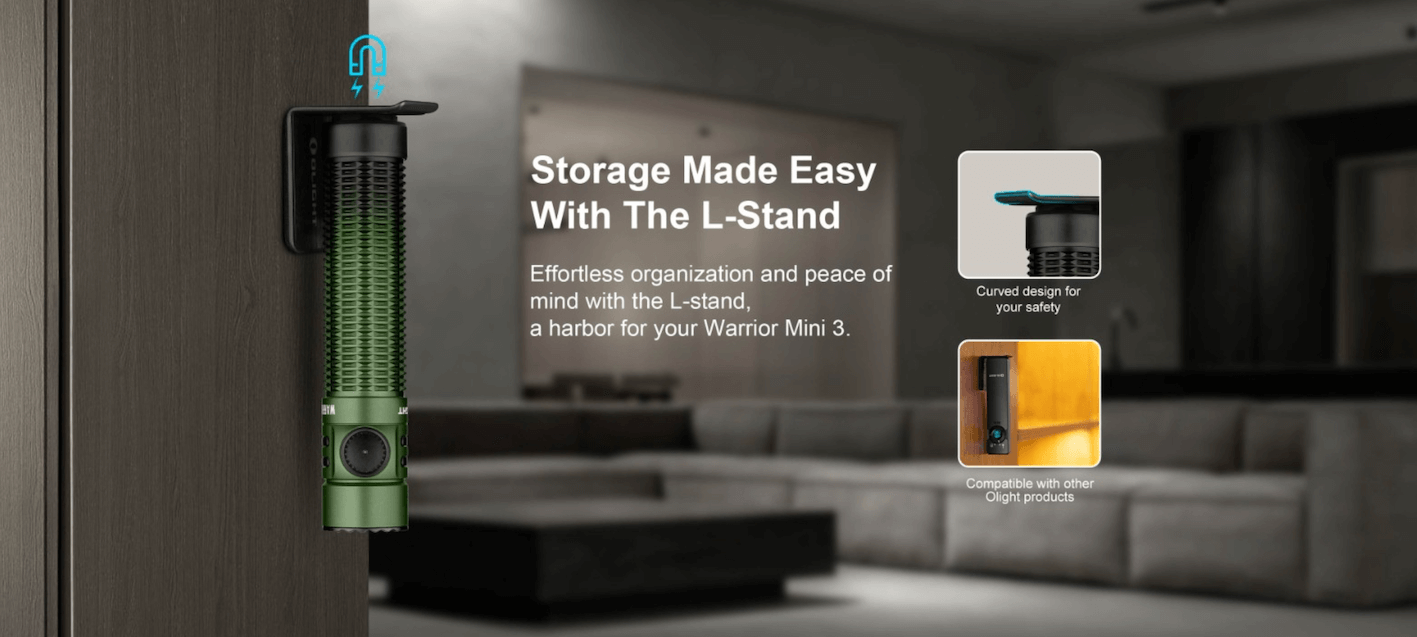
L-Stand
Included is a convenient L-stand that allows for easy and tidy storage.
Conclusion & Exclusive Offer
The Olight Warrior Mini 3 is a very good upgrade to the already excellent Warrior Mini 2… It’s more compact and has a host of new features that make it well worth the investment.
Exclusive Discount Code
You can get an extra 10% off all Olight products today, simply use ‘campequip10’ at checkout to get your 10% discount on any Olight product.
You can read more torch reviews by The Camping Equipment here.
I hope you’ve found this review useful.
If you have any questions or comments, then please leave them below and I’ll get back to you as soon as I can.
Mohammad


